INSTALL THE FACEBOOK PIXEL ON WEBSITES
The Facebook Pixel is a must moving forward for any business. Without it, your business is leaving a lot on the table. The power in the Facebook pixel is not only for tracking purposes (ie page visits) but you can use it as a powerful marketing tool. Imagine the ability to create “look-a-like” audiences similar to your current audience or following. Imagine about being able to retarget your previous buyers for future services or products. Imagine being able to target those who thought about purchasing your product but quickly change their mind. Imagine being able to see exactly where in the process someone filled and/or empties their cart.
Numbers and reports is not everyone forte but with it, you can make your business an efficient growing machine.
Below is a step by step to install the Facebook pixel onto your website. Keep in mind that this is the basic use of the Facebook pixel. You’ll need this basic code installed on your website in order to be enabling the more advanced tools of the pixel (ie. Tracking exactly when someone adds to cart, or makes a purchase)
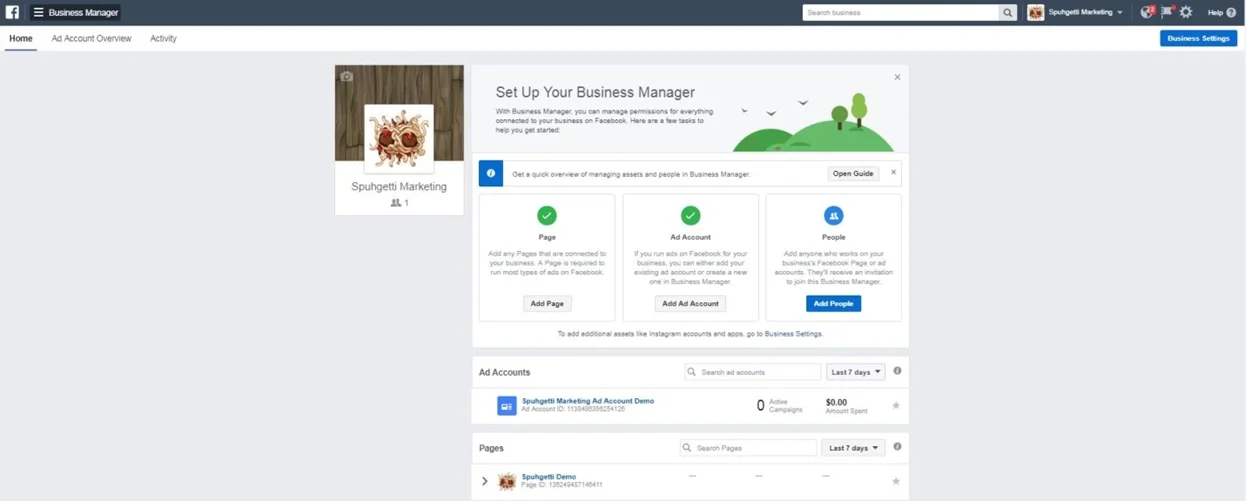
Step 1) Log into your business manager profile
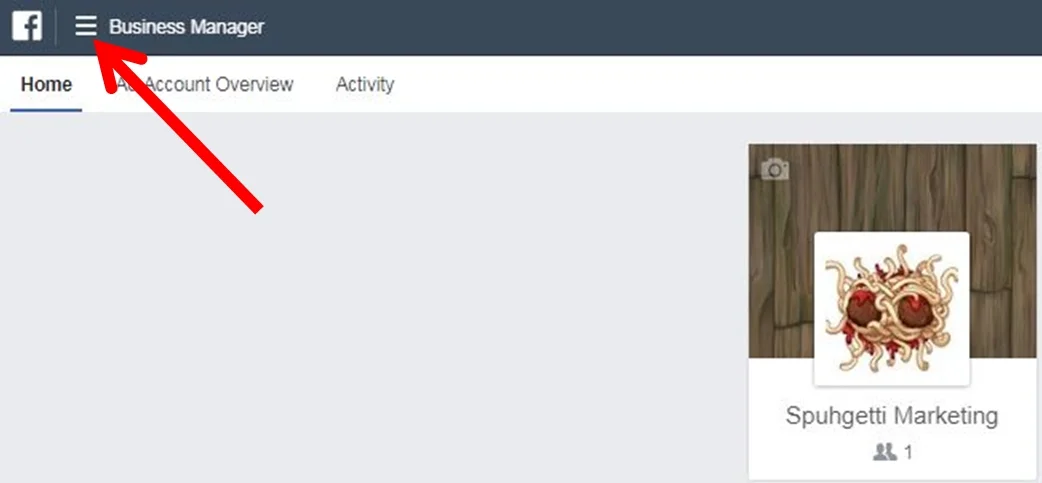
Step 2) Click on the 3 line “tools” tab
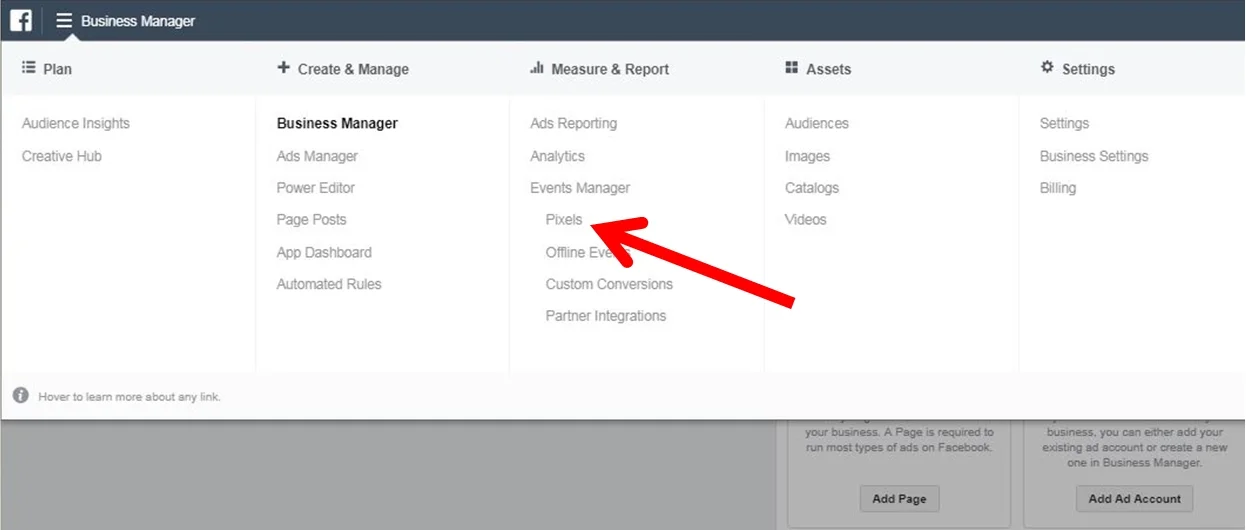
This will bring a drop down menu.
Step 3) Click on “Pixels” under the “Measure & Report” tab
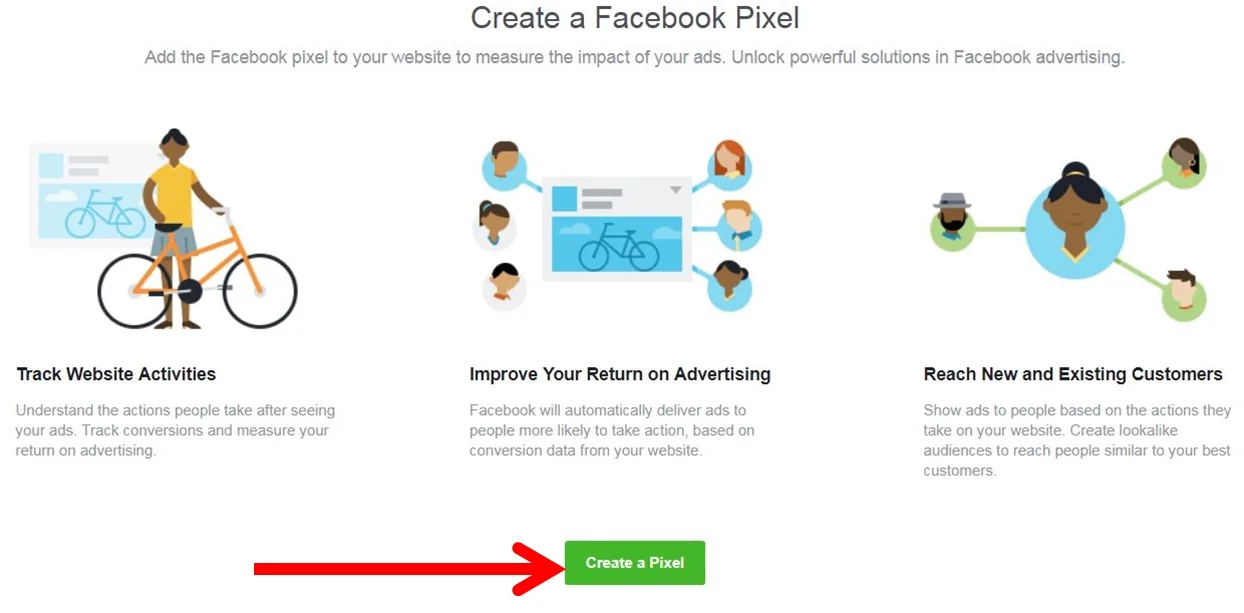
For new users or anyone who do not currently have a pixel created and installed; you’re “Pixels” interface will look like this.
Step 4) Click on “Create a Pixel”
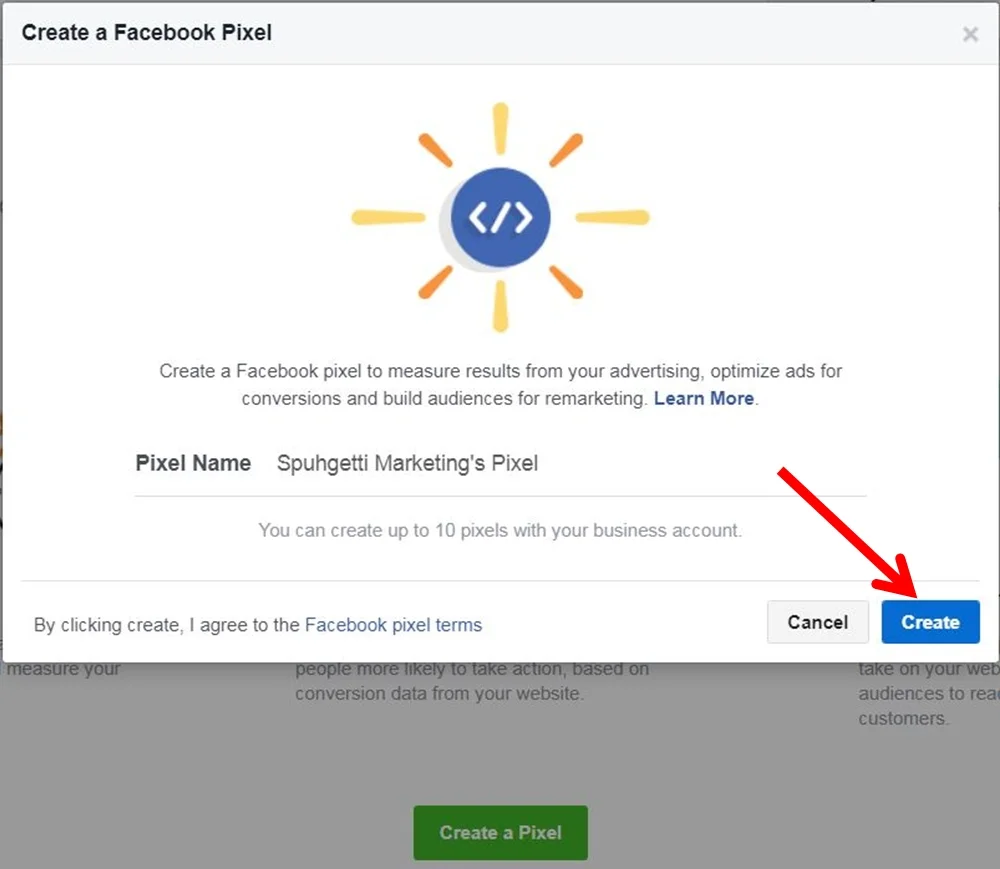
This window will pop up. The name of your pixel is based on the name of your business manager account. You are able to change the name at any time in your business settings.
Step 5) Click on “Create”
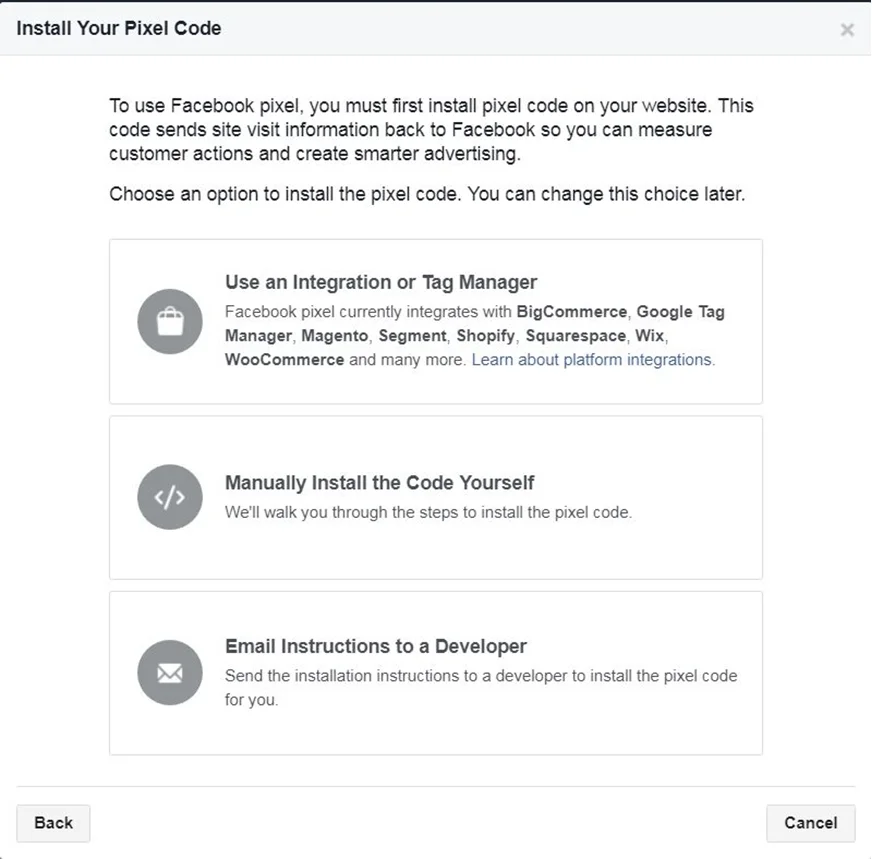
Facebook will take a few seconds to generate a new pixel. Now it’s time to place the code onto your website. There are 3 ways to get the base code installed. Depending on your comfort level on coding and the platform you are using for your website, you can select one of 3 options
If you choose the Integration way, Facebook will guide you through the process of what you need to do. If you choose “Email Instructions to a Developer”, they can take it from here. The code of the base pixel will be sent to them and instructions on how to install it.
In this guide, we will “Manually Install the Code…”
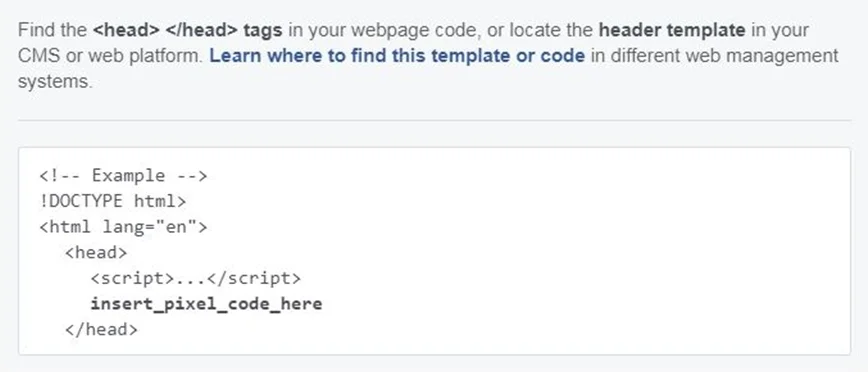
Step 6) Locate the header code for your website. Follow the instructions below on what to look for.
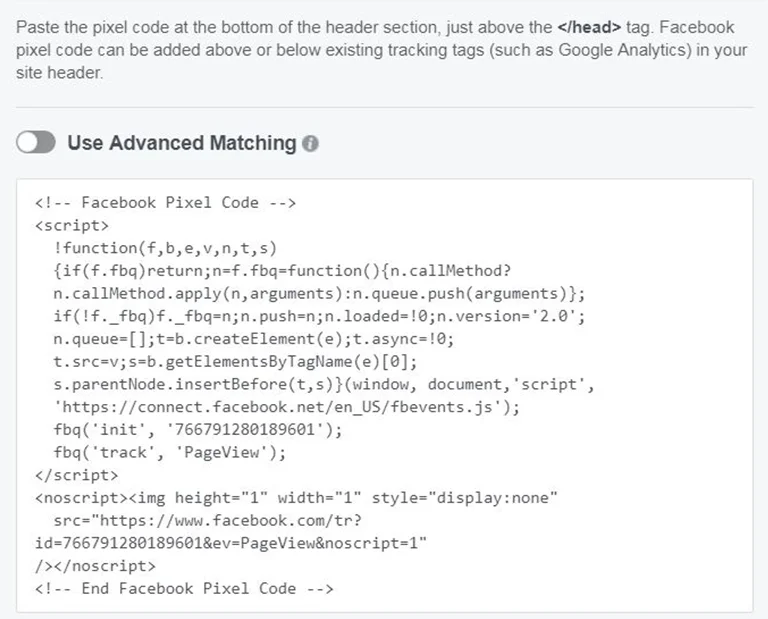
Step 7) Copy by clicking the space with the code. The entire code will then be copied and placed on your “clipboard”
On your website, look for the header section and paste the code in that section
<head>
<script>...</script>
insert_pixel_code_here
</head>
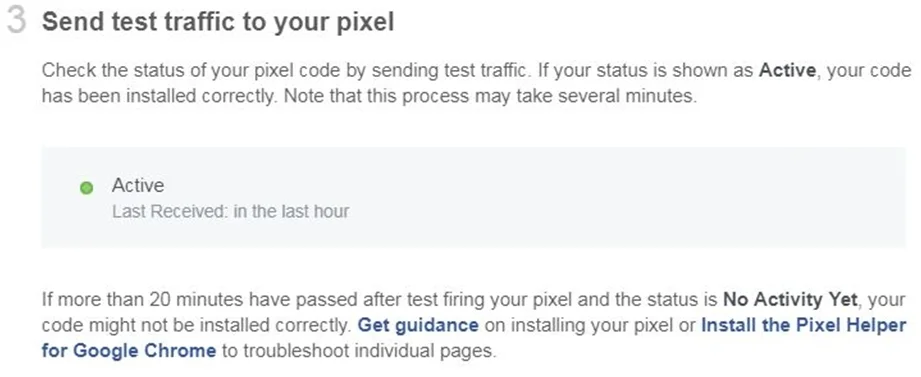
Once you install the base pixel code. Go back into the Facebook Business Manager and test the traffic to your pixel.
Step 8) There will be a place to input your url address and click on the Green button “Test Traffic” (not shown here since the test has been ran already)
This concludes the step by step guide in installing the base pixel code to your website. You have any further questions; you can email me at yves@mykemedia.com.
Be sure to check out my other guides for the advance utilization of the Facebook pixel.
